Excel is a powerful tool for organizing and analyzing data, but sometimes the default settings can make your worksheets look cluttered and disorganized. One way to improve the appearance of your worksheets is to center them horizontally on the page. This can make your data easier to read and give your worksheets a more professional look.
To center your worksheets horizontally in Excel, follow these simple steps:
1. Select the worksheet or worksheets that you want to center. You can do this by clicking on the worksheet tabs at the bottom of the Excel window while holding down the Ctrl key to select multiple worksheets.
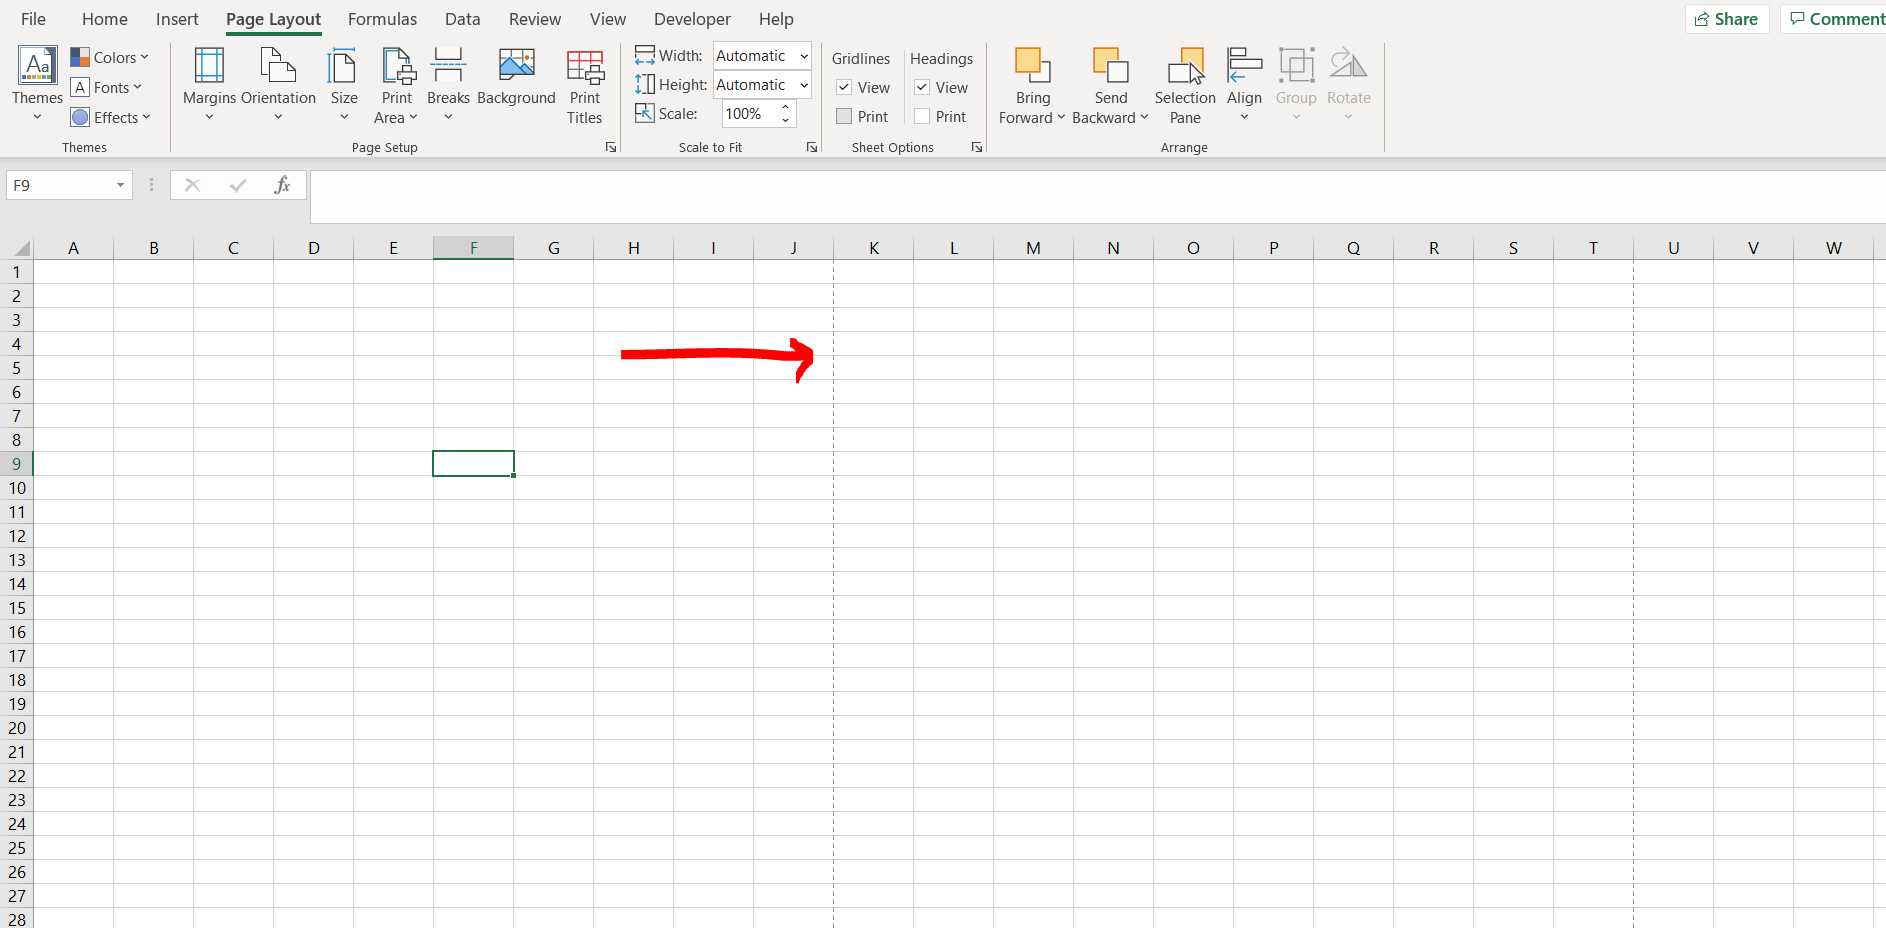
2. Click on the “Page Layout” tab at the top of the Excel window. This will bring up the Page Layout options in the ribbon.
3. In the Page Setup group, click on the small arrow in the bottom right corner to open the Page Setup dialog box.
4. In the Page Setup dialog box, click on the “Margins” tab. Here you will find the option to center your worksheet horizontally on the page. Check the box next to “Horizontally” under the “Center on page” section.
5. Click “OK” to apply the changes. Your worksheet will now be centered horizontally on the page.
By following these steps, you can easily center your worksheets horizontally in Excel, making them more visually appealing and easier to work with. This simple adjustment can make a big difference in the overall look and feel of your Excel documents.
Now that you know how to center worksheets horizontally in Excel, you can use this technique to improve the appearance of your data and make your worksheets easier to read and work with. Give it a try and see the difference it can make in your Excel documents!
